FAQs// ALL YOUR QUESTIONS WILL FIND ANSWERS HERE
Most Read FAQs
If you are buying your website without a care package then generally there is no minimum.
Our minimum website contract on one of our ‘website care packages’ is 6 months.
If you are unsure about if this applies to you please ask.
If you need to cancel your order please contact us at the earliest convenience in writing as once we have started working on your project expenses would have been incurred and may not be refundable.
For more details please view our terms and conditions.
1. With Windows Live Mail 2011 open, select the ‘Accounts’ option from the top menu bar.
2. Click the Email button.
3. On the window that appears fill out the options as follows:
Email Address: your full email address – eg you@yourdomainname.com
Password: your mail box password
Display name: Your name exactly as you want it to appear to recipients when they receive email from you
Check the ‘Manually configure server settings’ option
4. Click Next.
5. ‘Configure server settings’ should appear. Fill out these options as follows:
Incoming server information :-
Server type: IMAP (recommended) or POP3 (either can be used here)
Server address: mail.<domain> – replace <domain> with your domain name, so for example mail.yourdomainname.com
Port: 143 (If using IMAP) or 110 (for POP3)
‘Requires a secure connection (SSL)’ should remain unchecked
Authenticate using: Clear text
Login user name: your full email address – eg yourname@yourdomainname.com
Outgoing server information :-
Server address: mail.<domain> – replace <domain> with your domain name, so for example mail.yourdomainname.com
Port: 25 – however some ISPs do block port 25 for external mail services, so if you experience difficulties sending email then you should try port 587
‘Requires a secure connection (SSL)’ should remain unchecked
‘Requires authentication’ should be *checked*
6. Click Next. Windows Live Mail will display a ‘Finished’ message, connect to your mail box and download all email.
1. Start Outlook.
2. On the Tools menu, click Account Settings.
3. Click New.
4. Click ‘Microsoft Exchange, POP3, IMAP, or HTTP’, and then click Next.
5. In the Auto Account Setup dialog box, click to select the Manually configure server settings or additional server types check box, and then click Next.
6. Click Internet E-Mail, and then click Next.
7. Fill out the required settings as following:
Your Name: Your name exactly as you want it to appear to recipients when they receive email from you
Email Address: your full email address – eg jsmith@my-domain.com
Account Type: IMAP (recommended)
Incoming mail server: mail.<domain> – replace <domain> with your domain name, so for example mail.my-domain.com
Outgoing mail server (SMTP): mail.<domain> – same as the Incoming mail server
Username: your full email address once again
Password: your mail box password
Ensure that ‘Require logon using Secure Password Authentication (SPA) remains unchecked. This is important as you may experience difficulty sending email with this enabled.
8. Click “More Settings…” in the bottom right of the window
9. Click “Outgoing Server” tab at the top.
10. Tick the box labelled “My outgoing server (SMTP) requires authentication”
11. Click “Advanced” tab at the top
12. In the Outgoing mail (SMTP) box, type 25. *Note, if you have trouble sending e-mail, please try changing this to port 587.
13. Ensure that ‘This server requires an encrypted connection (SSL) is unchecked
14. The ‘Use the following type of encrypted connection:’ option should be set to None
15. Click “Ok” to close the window.
16. Click Next after you have completed entering this configuration information, and then click Finish
To setup Outlook Express to work with your MX Internet mail account please follow these instructions.
- Start Outlook Express and select the Tools menu. From here select ‘Accounts’
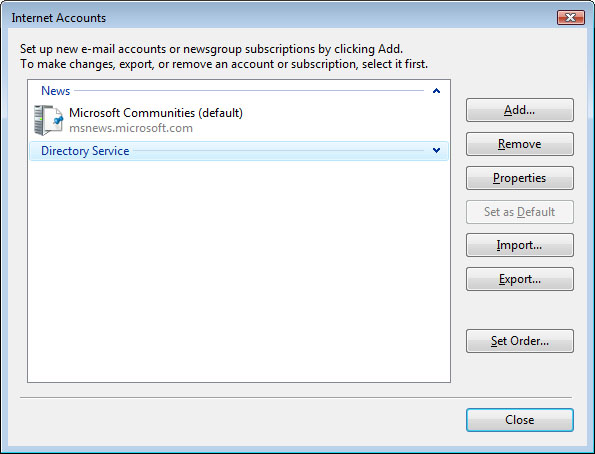
- In the window that appears press the ‘Add’ button and then select ‘Mail…’
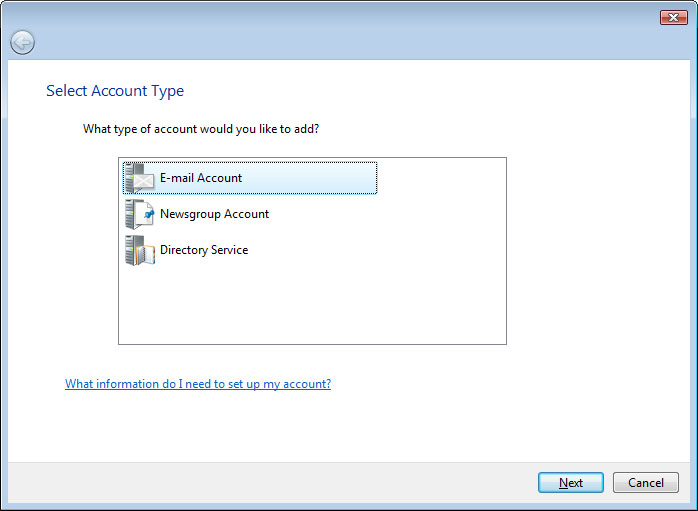
- Enter your name as you would like it to appear to people who receive emails from you. Then click ‘Next’.
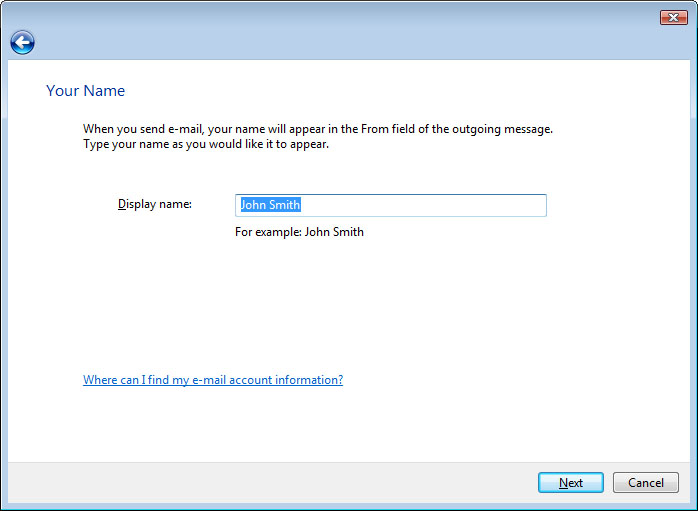
- Enter the email address that you want to use and that you have setup with MX Internet. Then click ‘Next’.
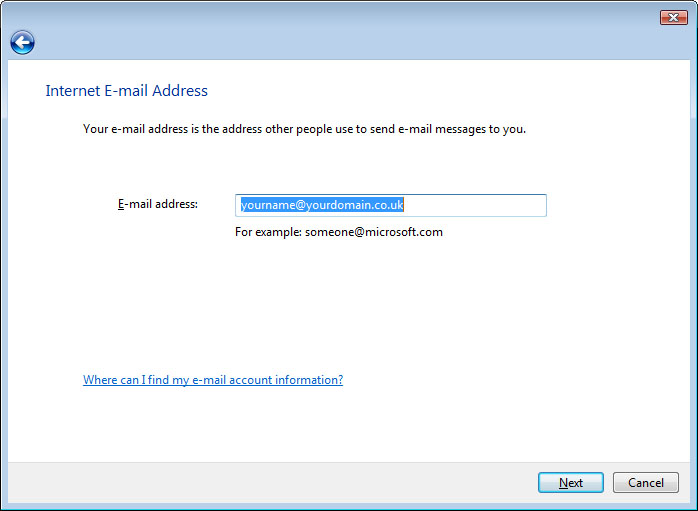
- Now you need to enter your incoming and outgoing servers. For the incoming server you should enter mail.’yourdomain.com’ substituting your own domain name for yourdomain.com. For the outgoing mail server you should enter mail.’yourdomain.com’ as before. Then click Next.
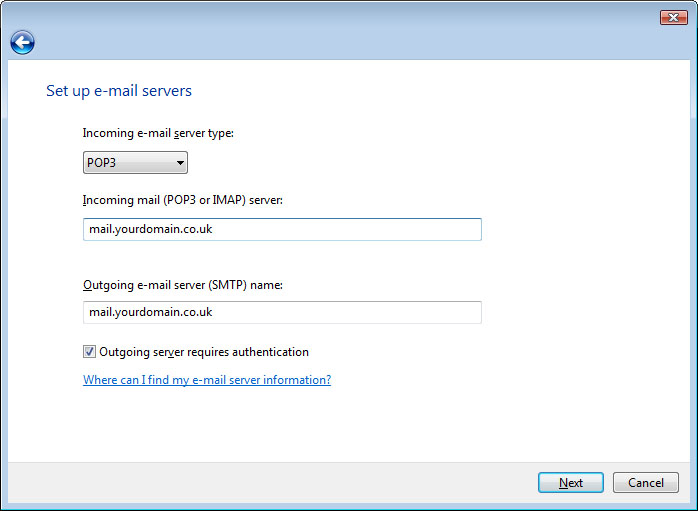
- To finish you need to enter your username (which is your full email address) and password for your mail account. This would have previously been provided or you can request your username and password from us. Once entered please click Next and then Finish.
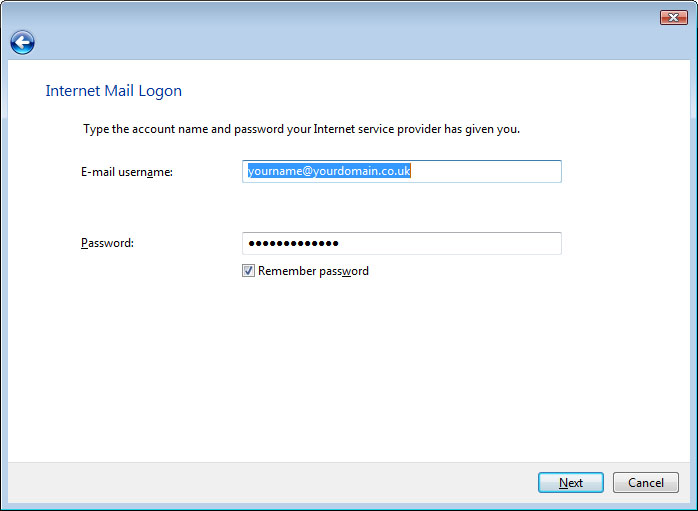
- To allow you to send mail through our mail server you now need to make a small change to the properties of the account. Select ‘Properties’ from the ‘Accounts’ window.
You need to click the tick-box that says ‘My server requires authentication’ or ‘This server requires me to log on’ and then click ‘OK’ and ‘Close’:
- You can now send and receive emails!
Paying for your monthly website subscription is simple.
Just choose your package and click the ‘subscribe’ button below
You will be taken to paypal to complete the payment, if you don’t have a paypal account don’t worry you don’t need one. You can either click the link below the password box that reads ‘Don’t have a PayPal account? Pay using your credit or debit card’ or simply register for a paypal account which is free and only takes a couple of minutes.
Don’t worry, you don’t need one. We merely use Paypal as a payment processor you can pay using paypal with any major credit or debit card
Paying for your invoice is easy.
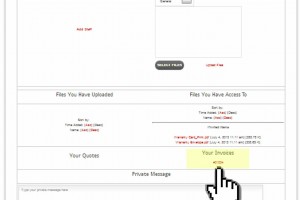
Your invoice will appear under ‘Your Invoices’ in YOUR CLIENT HUB under the top menu link here and should look like the below image.
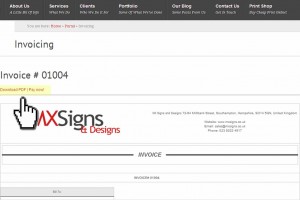
Click on the Invoice Number which you would like to view or pay for.
Then click the ‘Pay Now’ link below the invoice number.
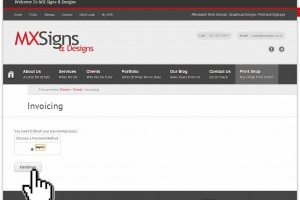
You will then be presented with the available on-line payment options as illustrated below. Select the option you would like to use and click continue where you will be directed to the appropriate payment processor.
If you would like to pay using a payment method not available on-line, such as Bank Transfer, Cheque, Credit/Debit Card over the telephone all the details required to do so should be on your invoice but don’t hesitate to let us know if you can’t find them or if you have any other questions.
There are several ways to receive your emails, using our web service is probably the easiest for most people and has the advantage of being available from anywhere in the world.
To view your emails online simply go to www.outitgoes.com and put in your email address and password to log in.
Well put simply we are not like other companies. We aim to give you a great, yet affordable website that performs well for you.
We can also supply you with the on going support you need to develop it into the great asset it can be. Hopefully when you see how well it works for you and how we can assist the growth of your company you will consider us for future work, such as your other design requirements, signage, SEO, marketing and printing needs.

