How to use Outlook.com with your domain
We recently had a customer who described themselves as technophobic and was very used to using one email account only. That account was their hotmail account which they had had for the last 10 years! (no wonder they was used to using it).
At the same time they saw the need to have ourselves built them a quality modern website to showcase their services and attract new customers and enquiries and didn’t want to be responding to these enquiries with their ‘myname1971@hotmail.com’ account as it doesn’t look too professional does it. They wanted to reply with their ‘Sales@TheirBusinessName.com‘ address. Although we are very proud of our own hosted email services and would rather keep them on in house servers to monitor their performance and always provide the support required when necessary. The customer was adamant that they wanted to use hotmail (now outlook.com) so keeping up our high customer service levels we were happy to oblige.
So if you would like to do the same and allow sending and receiving of emails from your own domain name here’s how it can be done.
Step 1: Create a live email address
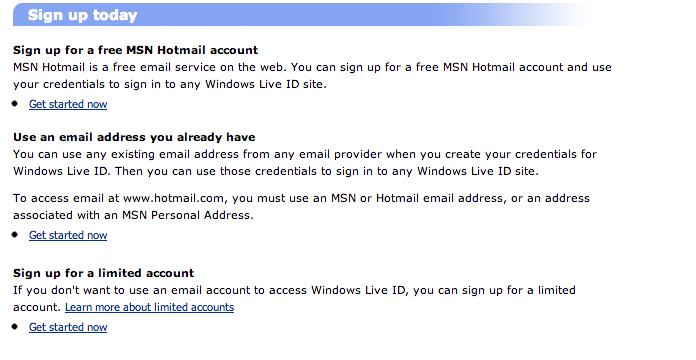
If you don’t already have a Microsoft email address (Live, Hotmail, Outlook.com), you will need to create one. Don’t worry, it is super easy, just go to http://www.passport.net and either create an ID using a new email address or use an existing email address and create an ID.
Step 2: Go to domains.live.com
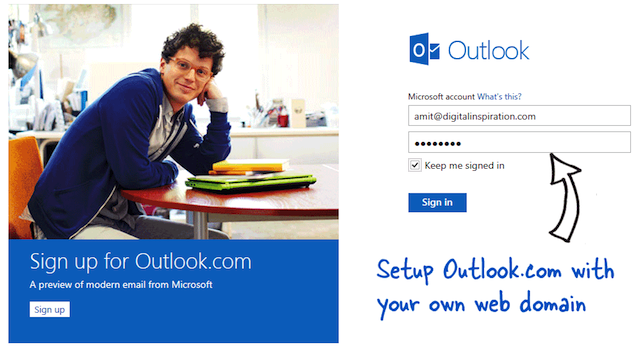
Once you have created you windows Live id, go to http://www.domains.live.com and click “sign in”. Use your id that you just created to sign into the website.
Use your id that you just created to sign into the website. If you forgot it, be sure to go back to passport.net to look it up.
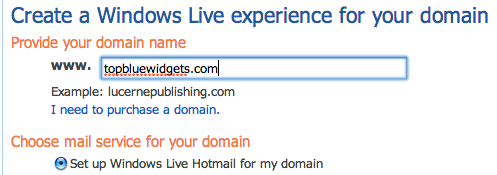
Click add domains, and type in your domain name for the website that you own. Be sure to select “set up Windows Live Hotmail, and then click “continue”.
Now comes the more technical part, but don’t worry, I am going to be with you every step of the way. On the next screen you will be given a screen listing a couple of records that you need to set up. There are only two records that must be setup, and that is the mx record and the spf record.
• MX record looks like this = 1c65434453454335.pamx1.hotmail.com
• SPF record looks like this = v=spf1 include hotmail.com ~ all
Step 3: MX Record
Now you must login to your domain registar page. This is commonly known as the cPanel that many hosts offer. The steps go like this:
1. Login to cPanel
2. Navigate to your MX entry tool
3. Within the MX Entry panel, select the domain you wish to edit.
4. Make note of the existing entries (copy their values to a text editor as a backup just in case you need to revert back to the default settings)
5. Delete all existing MX entry records
6. Enter the following entry (this is your MX record that you copied from before):
Priority: 10
Value/Destination: db238490rand0mstr1ng138298.pamx1.hotmail.com (this is your personal MX record)
Step 4: TXT Record
Once your are done with your MX record, you are not quite finished with Cpanel just yet. You need to now add the TXT record. The steps go like this:
SPF RECORD: (see screenshot attached)
The SPF record is a record that keeps your emails from being marked as spam. With the v=spf1 include:hotmail.com ~all means, you are telling your server, that any server that is allowed to send mail from the IP addresses of Outlook.coms mail servers is also allowed to send mail from domain.com.
The ~alldirective means that email messages that are not sent from the exact server will still be accepted. The steps go like this:
1. Login to cPanel
2. Navigate to your DNS Zone Editor
3. Within the DNS Zone Editor, select the domain you wish to edit.
4. Enter the following Information:
- Name: domain.com
- TTL: 3600
- Type: TXT
- TXT Data: v=spf1 include:_hotmail.com ~all
Step 5: CNAME Record
The CNAME Record simply allows you to access your mail server, through a pretty domain like http://www.mail.domain.com. It makes everything easier for your business.
1. Login to Cpanel
2. Navigate to your DNS Zone Editor
3. Select your domain, in this case we selected domain.com
4. Enter in the following information:
Name: mail.domain.com (replace the word ‘domain’ with your own domain name)
TTL: 9600
Type: CNAME
CNAME: go.domains.live.com (this is to be entered exactly as shown)
Step 6: Verify Your Records:
After you have created all of your records, it will take approximately 30-60 minutes to complete. In order to check the progress, open your command prompt in windows, and type in the following:
C:>nslookup –type=mx yourdomainname.com
C:>nslookup –type=txt your domainname.com
If your new records that you added show up, then you can move on to the next step!
Step 7: Add your email addresses
Go back to domains.live.com, and log back in with your Windows ID (that you created from step 1). There should be a green circle next to your domain name with the word “active“. Click your domain name and then click “add”.
You should note that the account name is what your email address will be. In this case “test” will be test@yourdomainname.com”. Once you click okay, then your email is setup. We just have one more step to complete.
Step 8: Login to your email account
Now that your records are verifed, you can login to your cname record that you created. Type in “outlook.com” and then login in with the email account you just created (test@yourdomainname.com) Important: “You will probably need to logout of your Windows Live ID account, in order to access this page”.
Then you should be logged in, and your email account is all setup. One of the benefits to using Outlook.com instead of Google Apps, is it’s completely free for up to 500 users! So you can feel free to create up to 50 email addresses repeating steps 7 and 8!

