iOS7: How to setup iPhone email for cPanel accounts
Step 1 – Tap the Settings icon from your Home screen

Step 2 – Tap Mail, Contact, Calendars
Step 3 – Tap Add Mail Account
Step 4 – Tap Other
Step 5 – Make sure IMAP is selected (the default), and fill in the fields as follows:
- Name : Enter your name as you would like your correspondents to see it.
- Email : Enter the full mailbox address that you created in cPanel.
- Description : Enter a friendly description for this mail account (this just helps you identify this account in amongst your other mail accounts).
Incoming & Outgoing Mail Server settings should be exactly the same as follows:
Method 1
You can usually find this by browsing to http://yourdomain/cpanel or http://yourdomain/webmail – If your hosting provider is security minded, this will redirect you to something like https://hostname:2083 or https://hostname:2096 – The hostname bit is your incoming and outgoing server’s Host Name.
Method 2
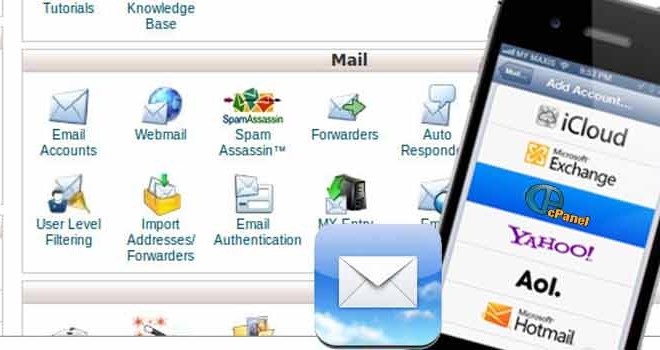
If you log into cpanel, then you can find the settings by clicking on the Email Accountsicon
then find the row of email accounts (you may only have one), and click the Morebutton, then click Configure Email Client.
This will open the Mail Client Configuration screen, where you will find the information as marked below
- Host Name : This will be the name of the server that hosts your cPanel account. See above.
- Username : On cPanel servers this is always the full mailbox address.
- Password : This is your mailbox password (not the cPanel account password!)
When you have done all that, tap Next (top right).
Step 6 – Turn off Notes
Turn off the Notes switch by tapping it, and tap Save
Step 7 – Configure more settings
You should now be returned to the Mail, Contacts, Calendars screen. Tap your new account entry.
Step 8 – Tap the account as shown
Step 9 – Tap Advanced settings
Step 10 – IMAP Path Prefix
Scroll to the bottom and enter IMAP for the IMAP Path Prefix
Step 11 – Set IMAP Mailbox Behaviours
This stage is important because otherwise your Sent, Drafts and Trash will be storedlocally on your iPhone, and you won’t be able to see them when accessing your mailbox from another computer or webmail.
Start by tapping Sent Mailbox
Step 12 – Connect to correct IMAP folder
You will see that currently there is a little blue tick next to the Sent folder ON MY IPHONE. This causes no end of support calls! Just tap the Sent folder under ON THE SERVER.
After which you will be returned to the Advanced screen (Step 11) – repeat this process for the Drafts and Deleted folders, connecting them to the server’s Drafts and Trash folders respectively.
Step 13 – Unlucky if you forget it!
Once you are back to the Advanced screen, don’t forget to tap Account (top left) to return to the Account screen, and then tap Done (top right) otherwise your advanced settings won’t be saved.
That’s it – you’ve now configured your iPhone correctly for a cpanel email account.













Recent Comments